Light up Wall Panel/Board Step by Step guide
Apr 19, 2014 14:52:54 GMT -5
Thorn Of Deucalion likes this
Post by ba|1 on Apr 19, 2014 14:52:54 GMT -5
So since my Buffy Prop Collections grows slowly I figured its about time to use all space available and get a bigger wall panel to put up my prop collection. I decided to do a little step by step guide in case any of you guys wants to do the same. Itll be awesome to add shelfes on it, pictues, pictureframes or props like I did.
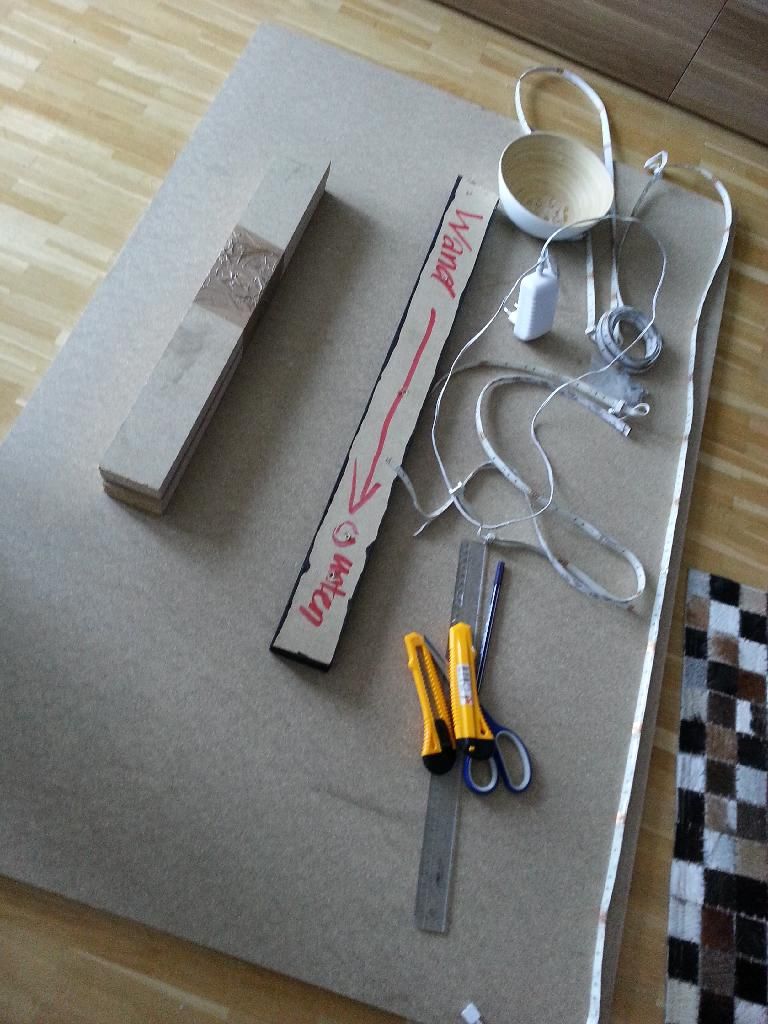
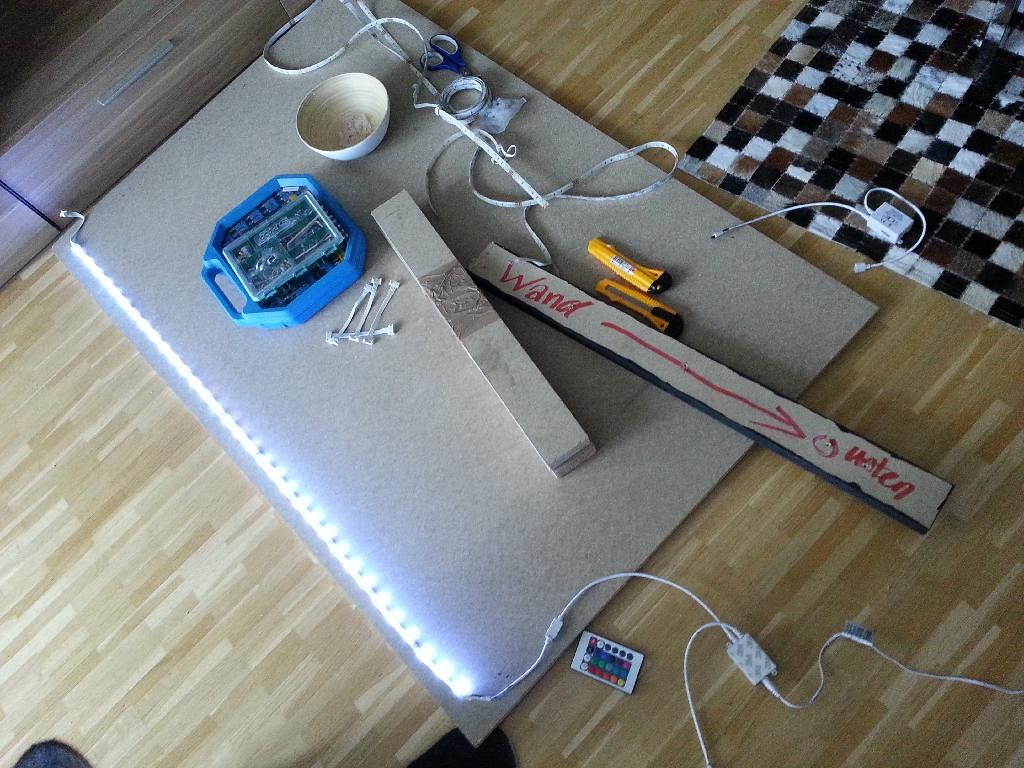
All you need is :
)pegs (depends on wall)
)long screws
)1-3 stripes wood lath (depends on size of the wall panel)
)leds
)wooden panel/board
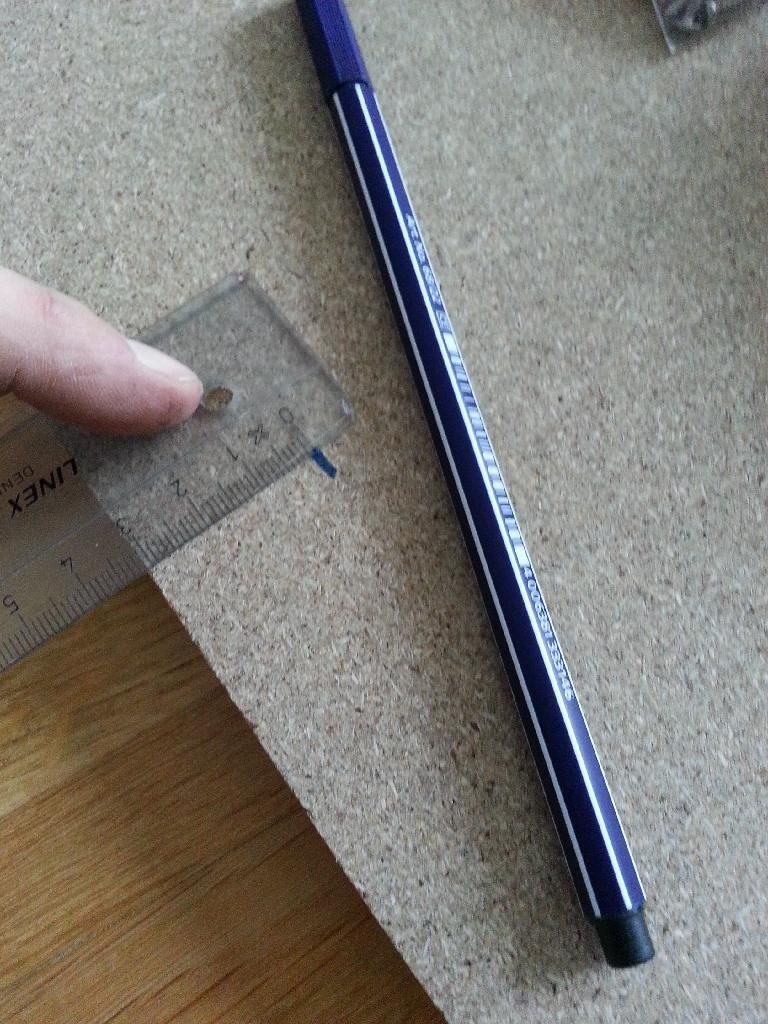
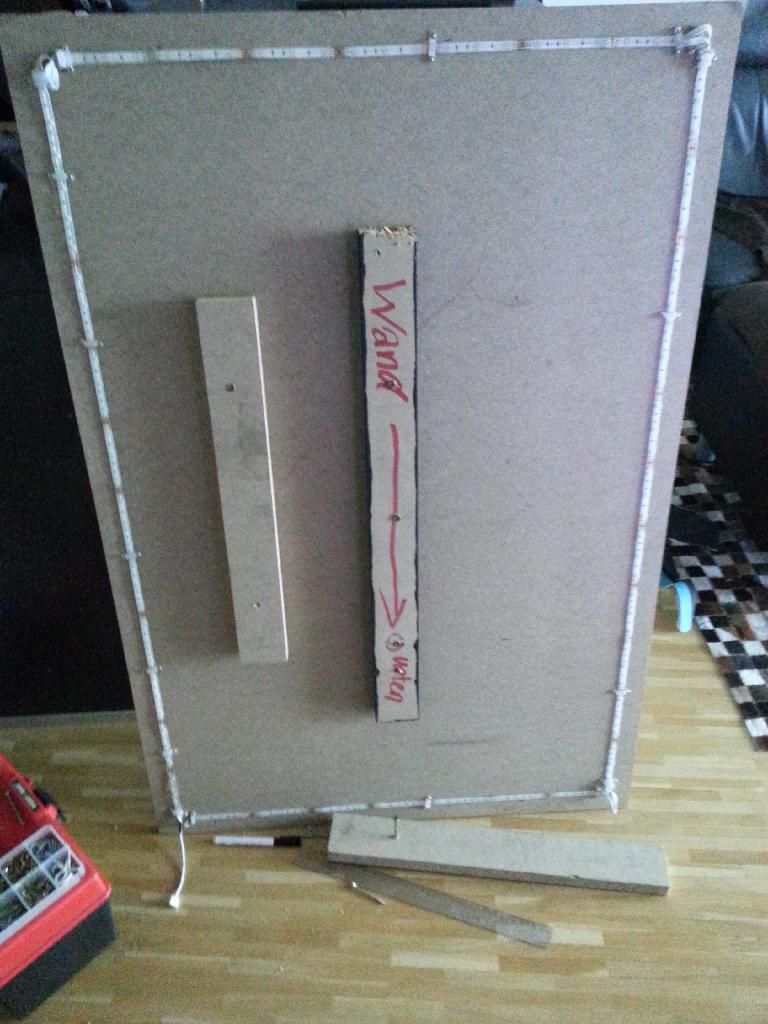
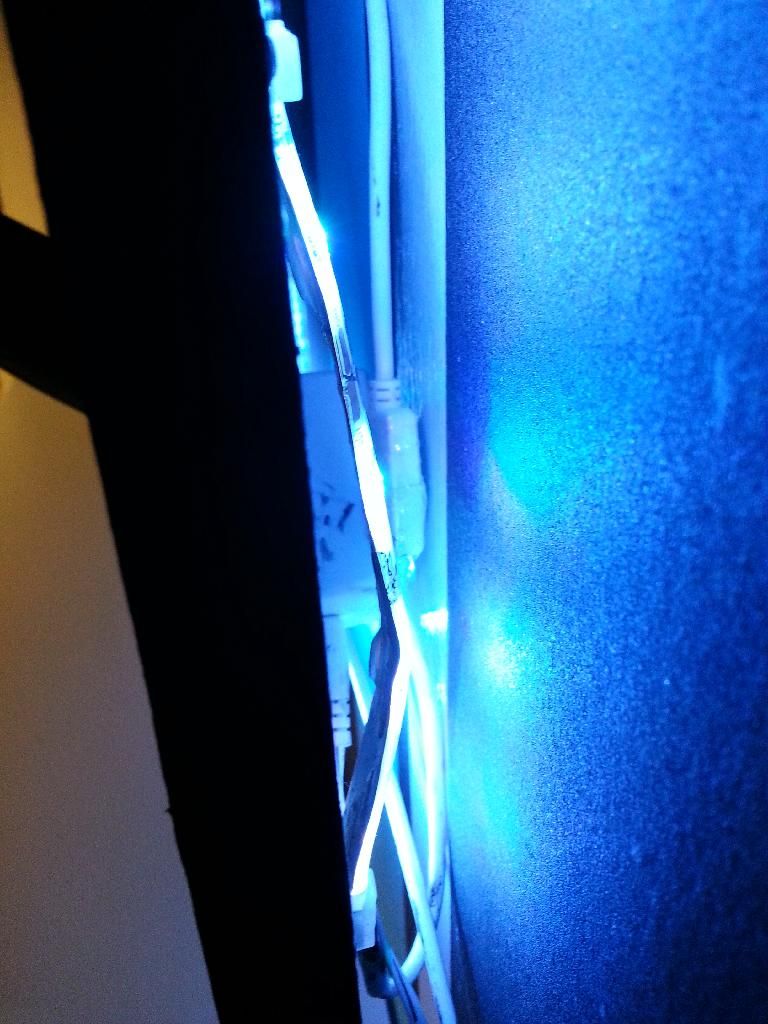
First I did meassure 3cm from the border to add the ledstrips similar on all sides.
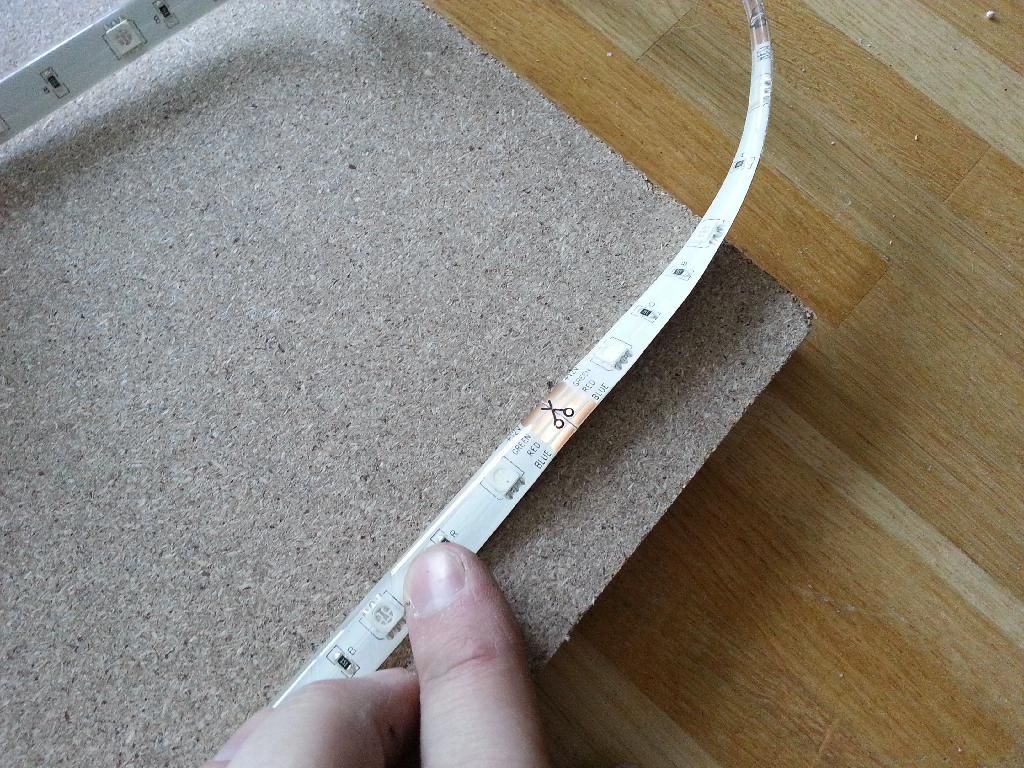
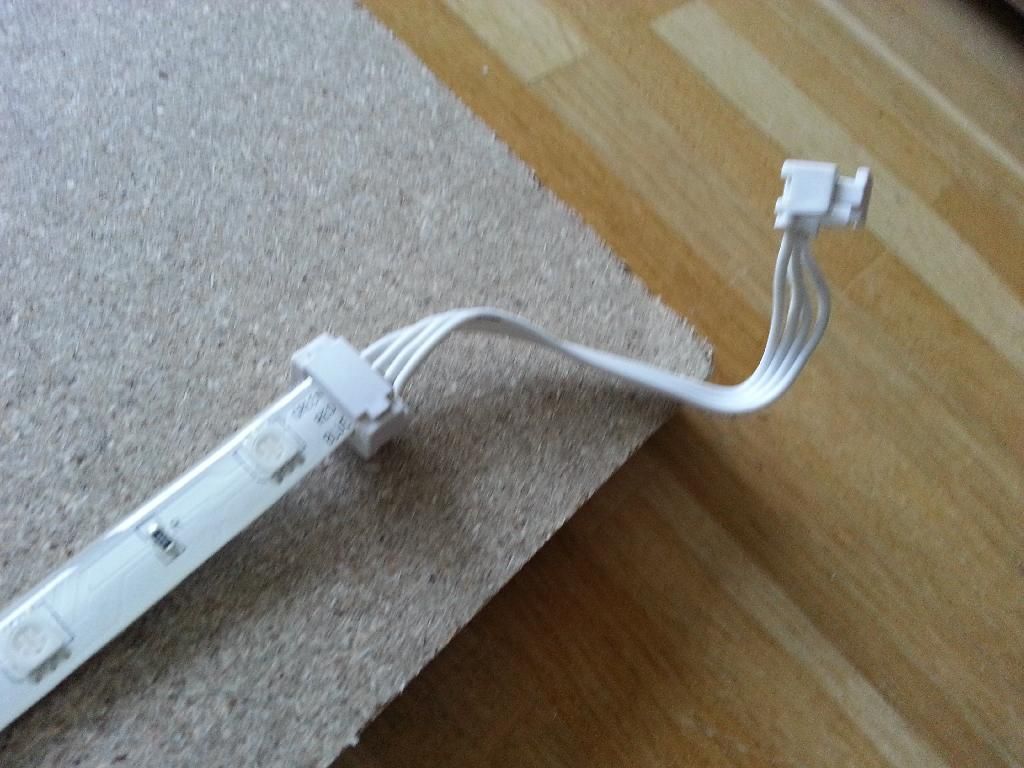
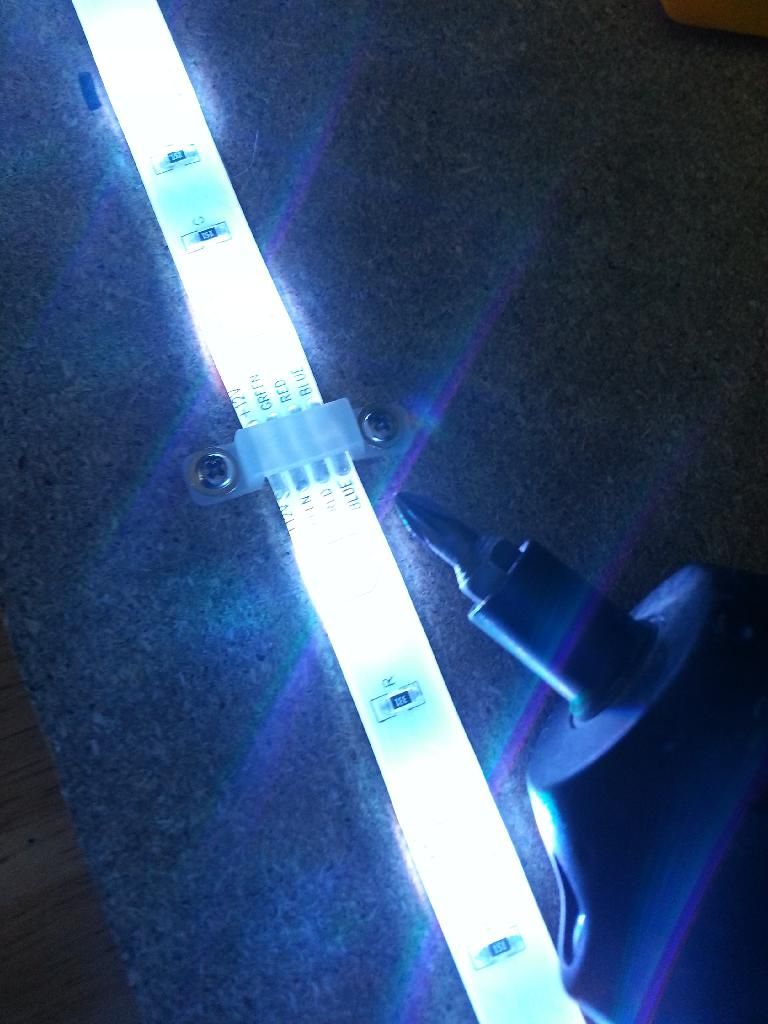
Then glued the ledstrip on, make sure to cut exactly where the mark is or else the contacts are dead. Then use the connection piece and connect it with the next strip. Id left the energy on to see if the wiring works, no shocks during cutting
TIP: Make sure to place the port in that area wich is closest to a socket.
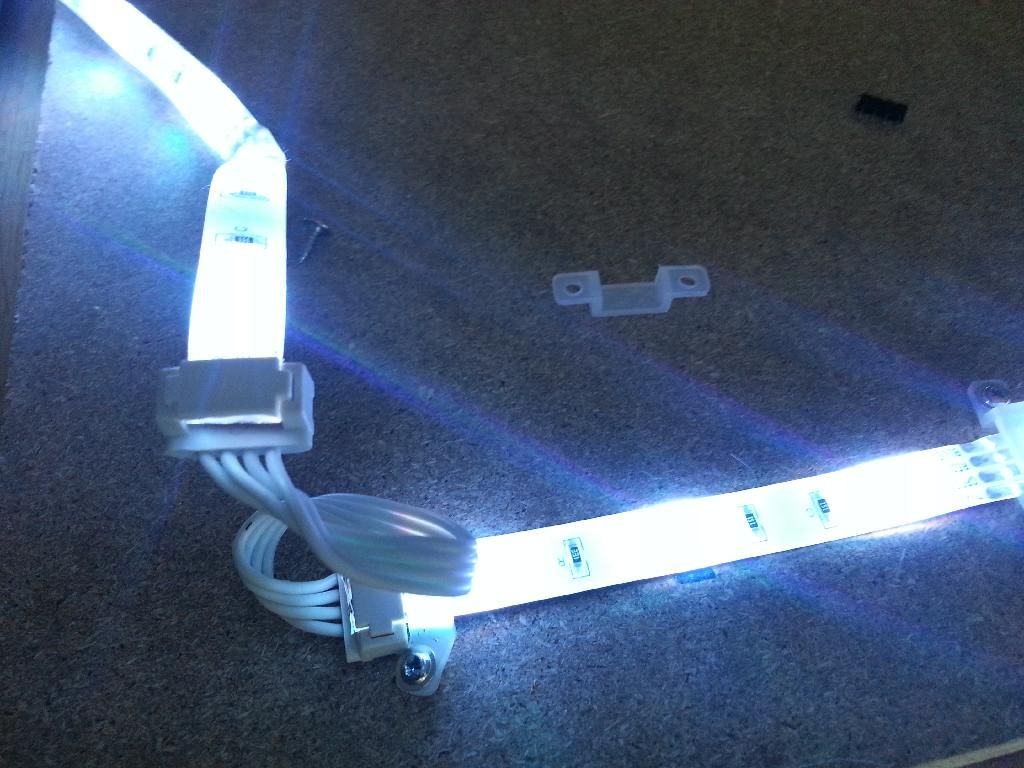
I then used those little rubber holders wich came with the ledstripes. Those are just a extra support as the strip is sticky allready, still wanted to make sure it will hold.
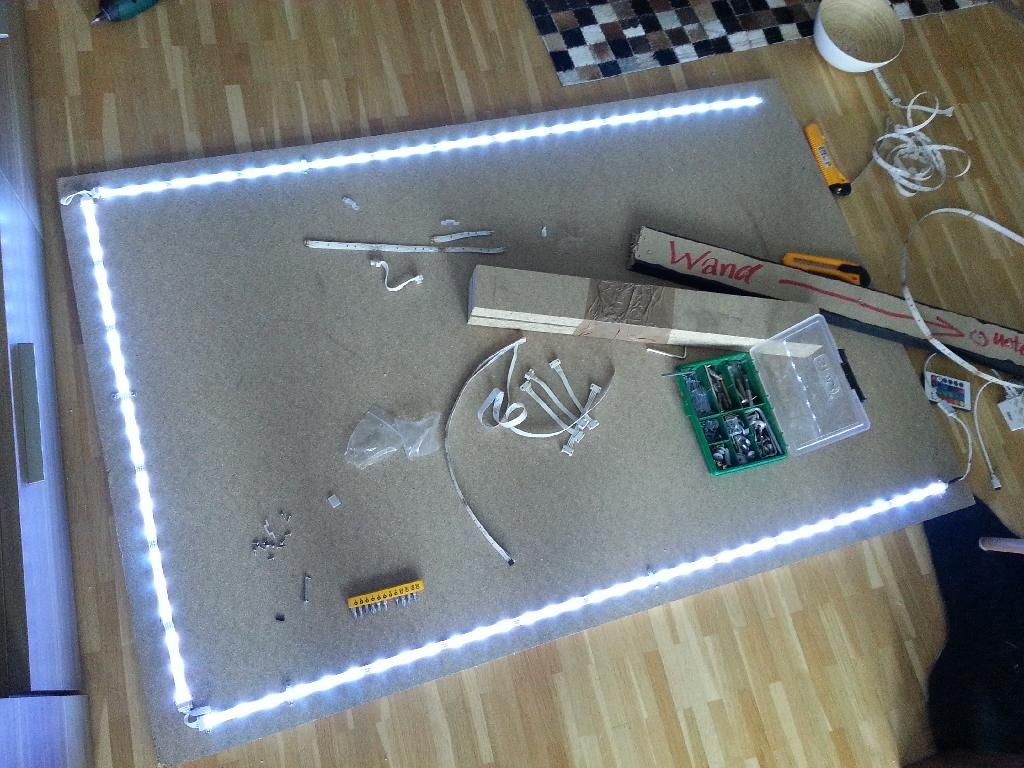
Then mount the wood laths. Theres different ways how to mount those, some put them around like a frame. I decided to have a longer centerpiece and 2 support pieces. Make sure to use a bubble level to get them as straight as possible. Use long screws to make sure the head of the screw comes through the top, so you know where to put the screws then. Remove the screws, turn the panel around and now screw the laths from the other side using the same holes. Make sure the heads of the screws dont come through yet.
TIP: Use a drill and add little slots on the surface where the screws goes. That way the surface is even when painting it or cover it with wallpapers.
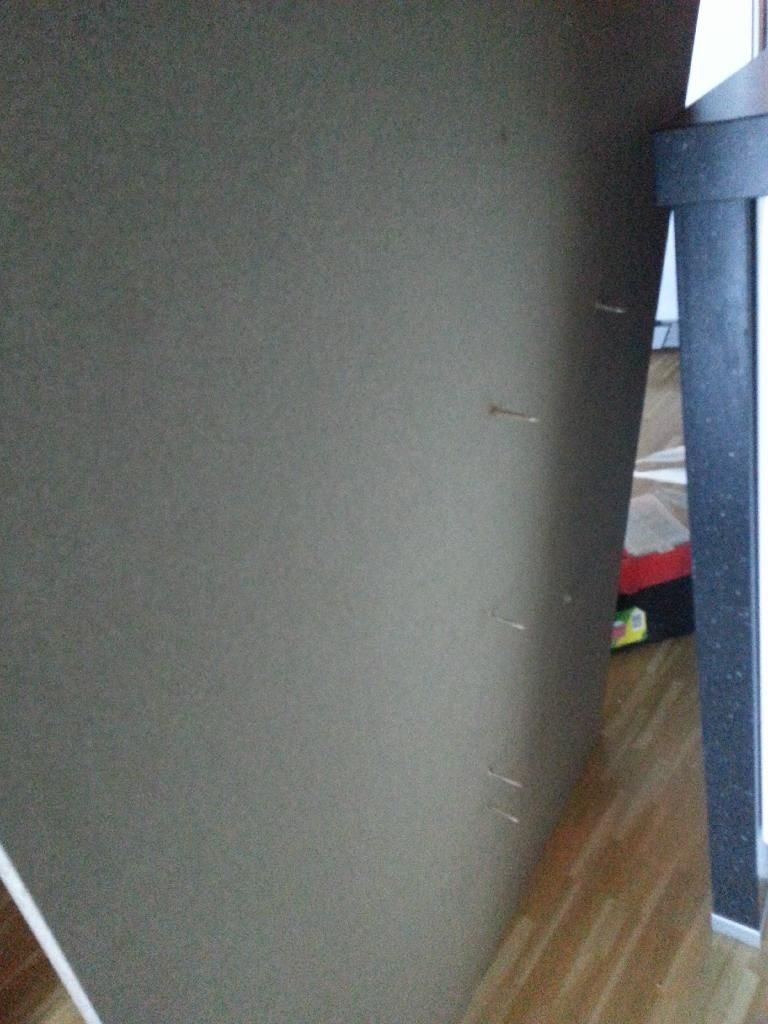
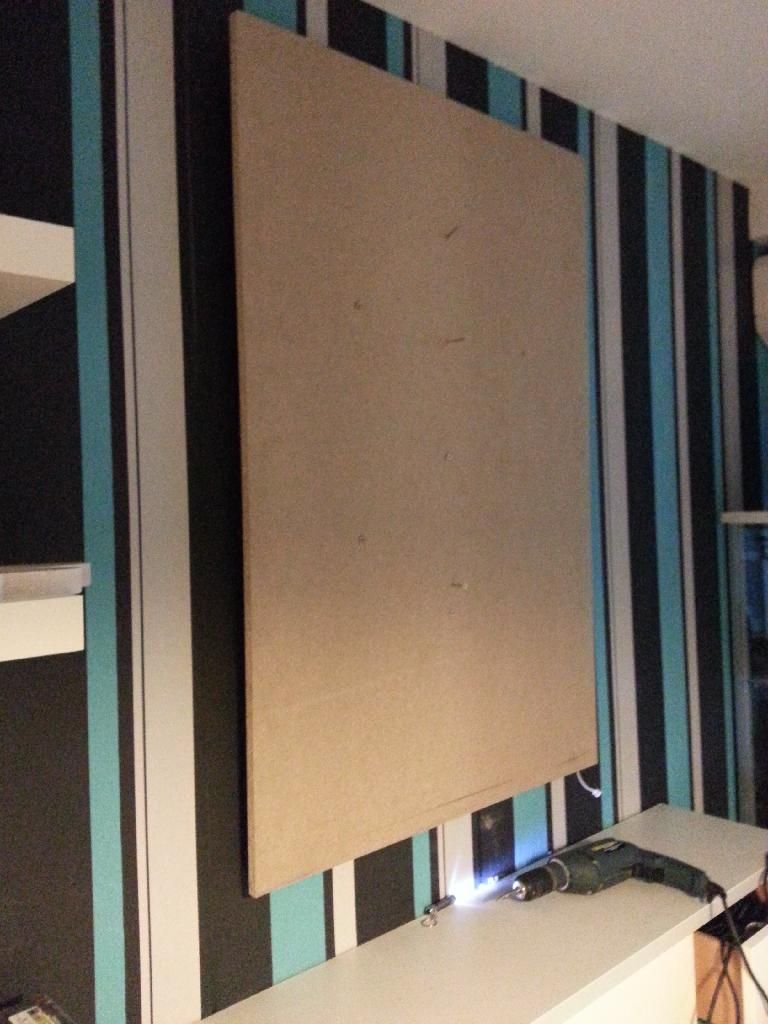
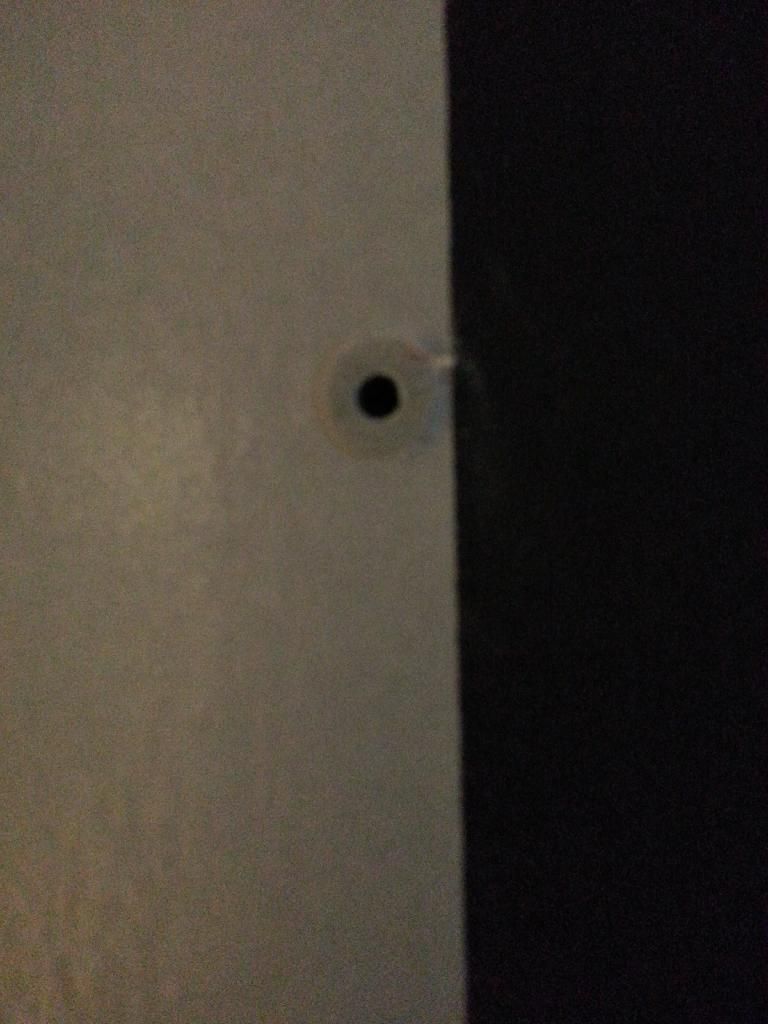
You can now place your board the way you want to hang it up the wall, get someone to help you and hold the board, or use books or boxes to have a little support. Now drive in the screws as far as possible. That way they will leave marks in the wall, and you know where the pegs are going. Drill holes and put pegs in. Now you can mount your panel upon the wall.
TIP: Get a flashlight to check the back and make sure the screws went into the pegs.
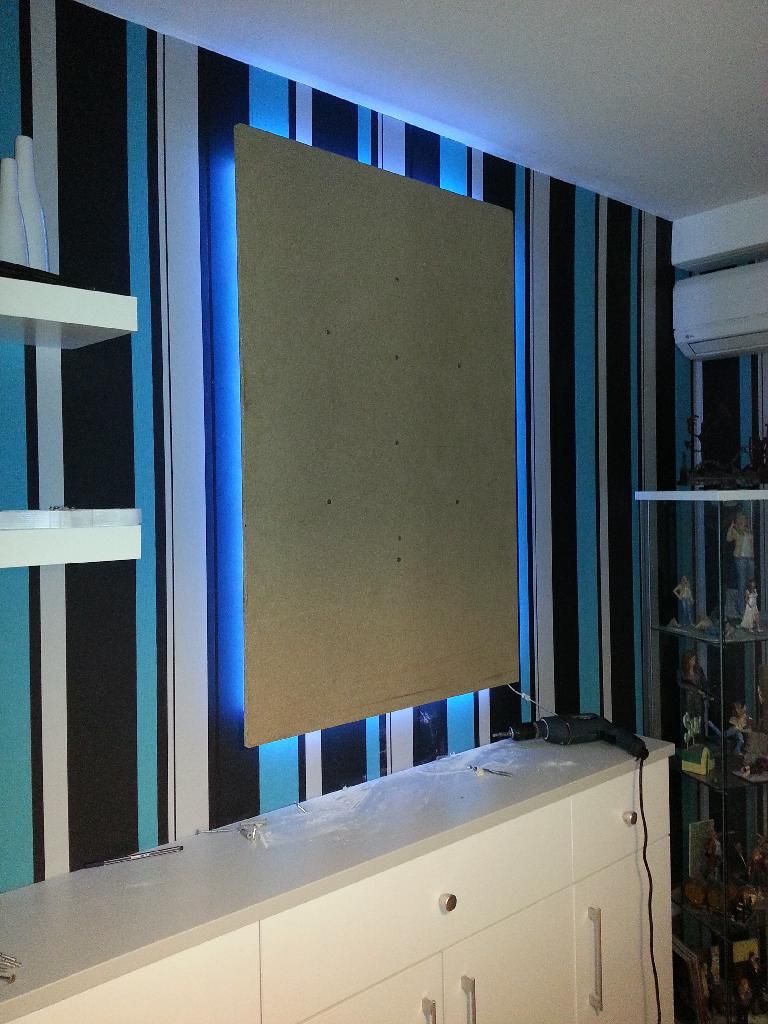
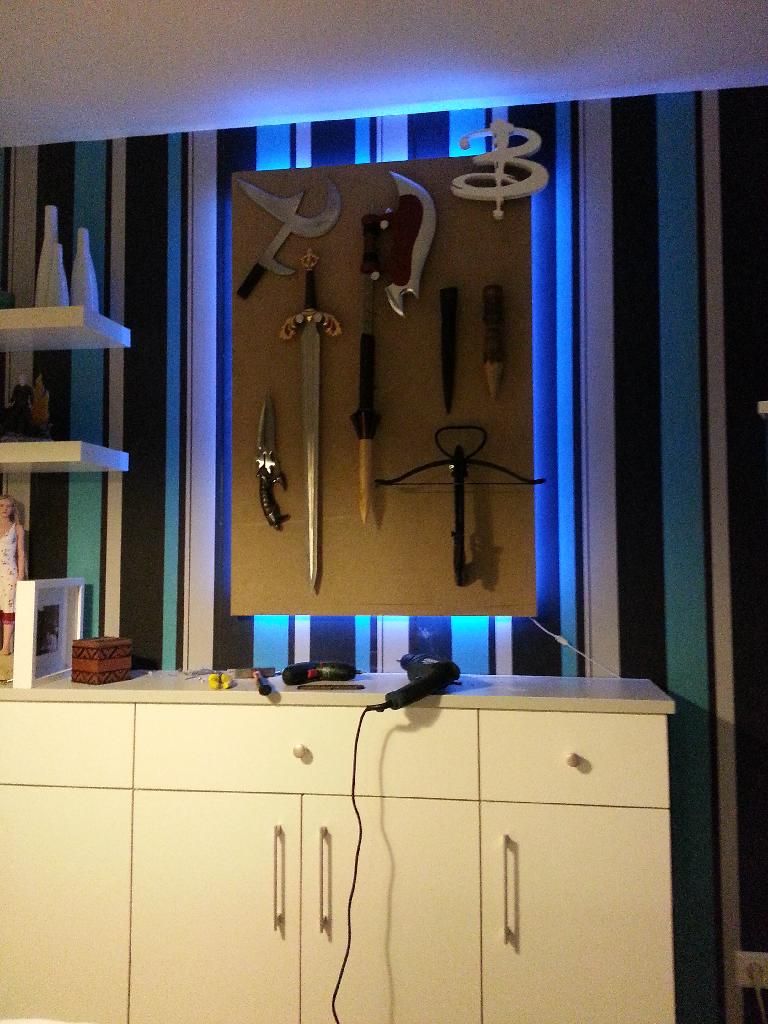
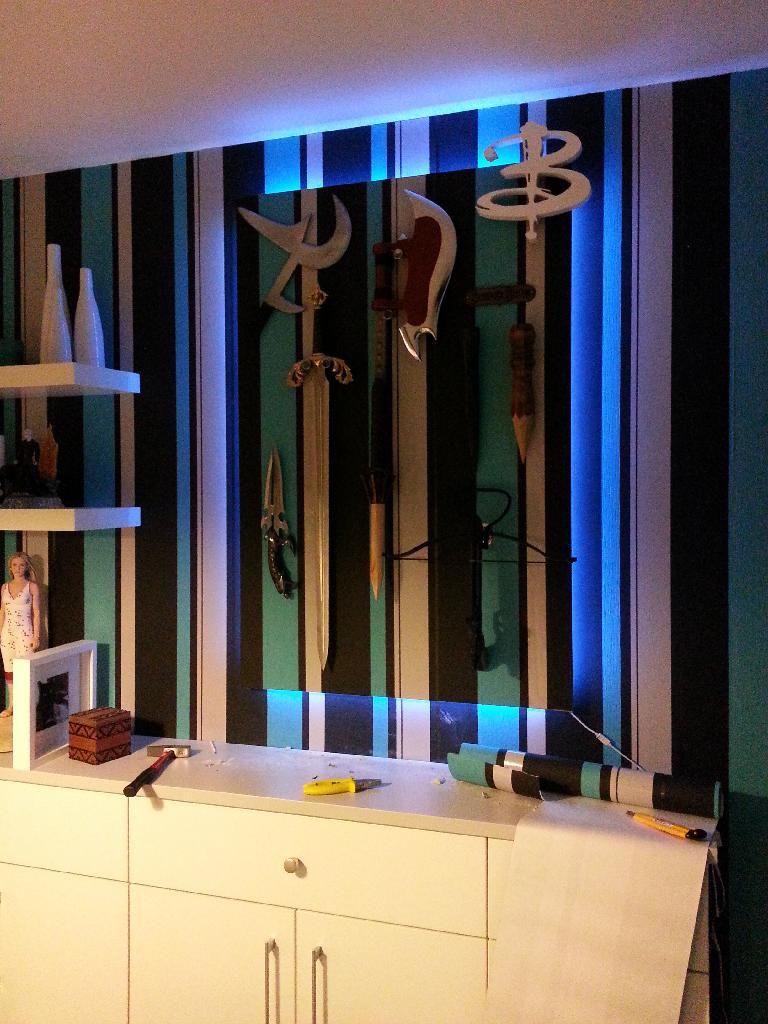
I then placed my props the way their going to be mounted, that way you wont destroy the final wallpaper, paint ect.
Then removed everything but the nails and screws and stared to cover the panel with wallpaper.
TIP: If your wallpaper/paint has pattern make sure to make it fit the wall. You can also use a different wallpaper/paint to make the panel stands out even more.
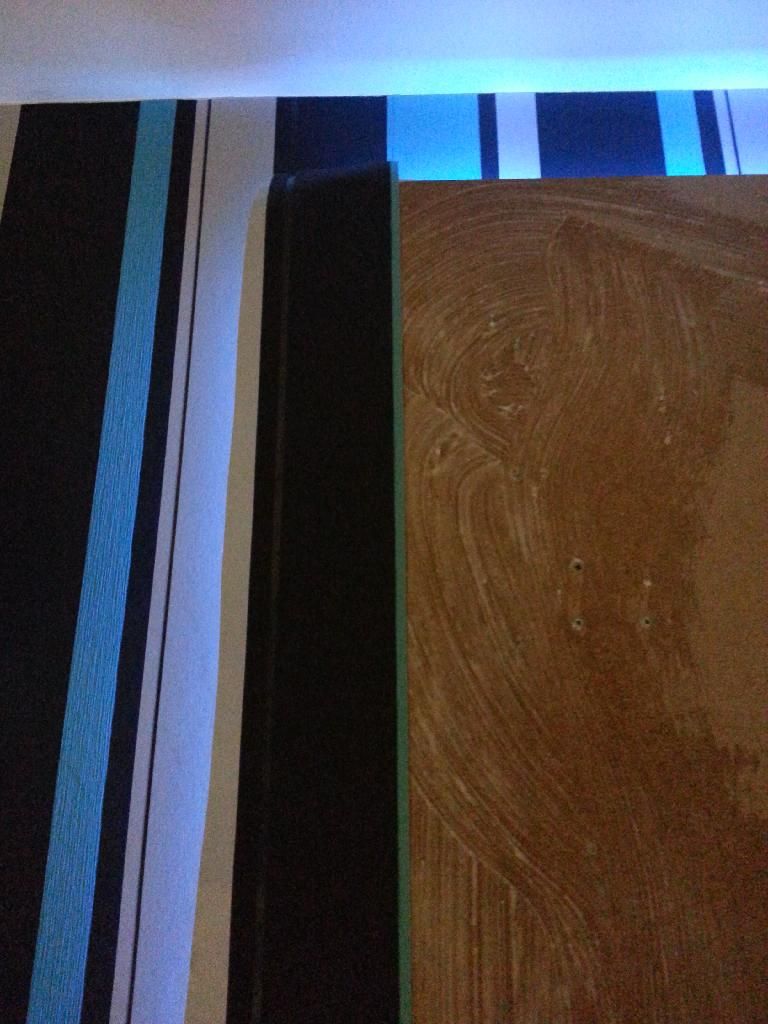
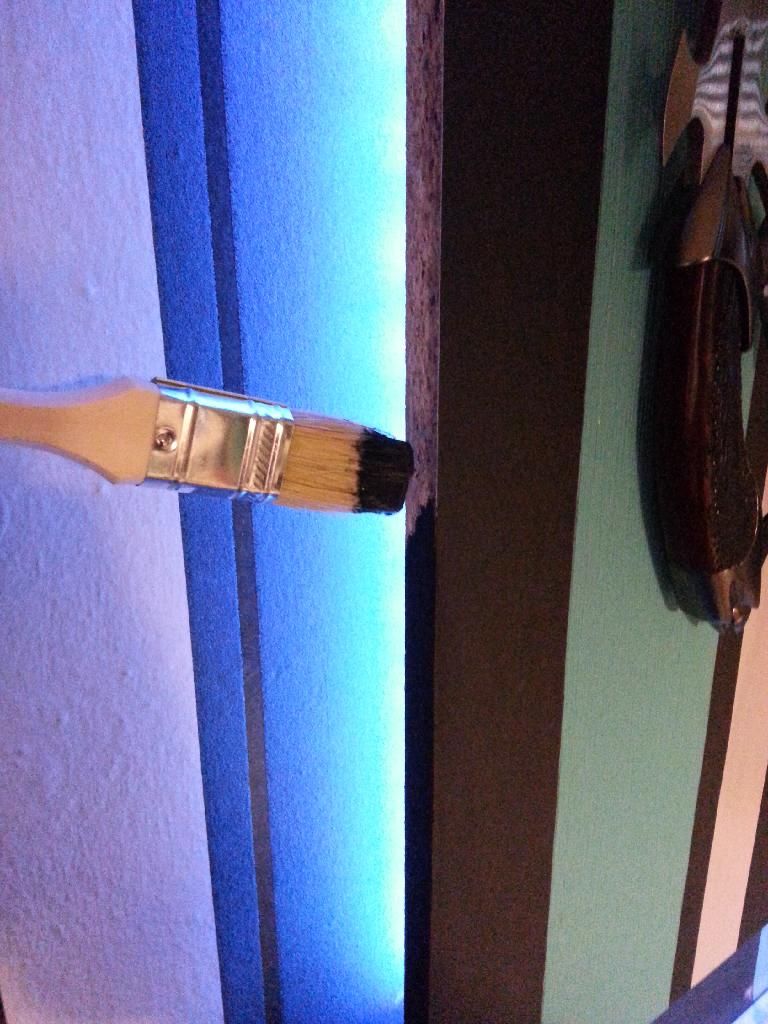
I usually cover the borders with wallpaper too, but just decided to paint them black this time.
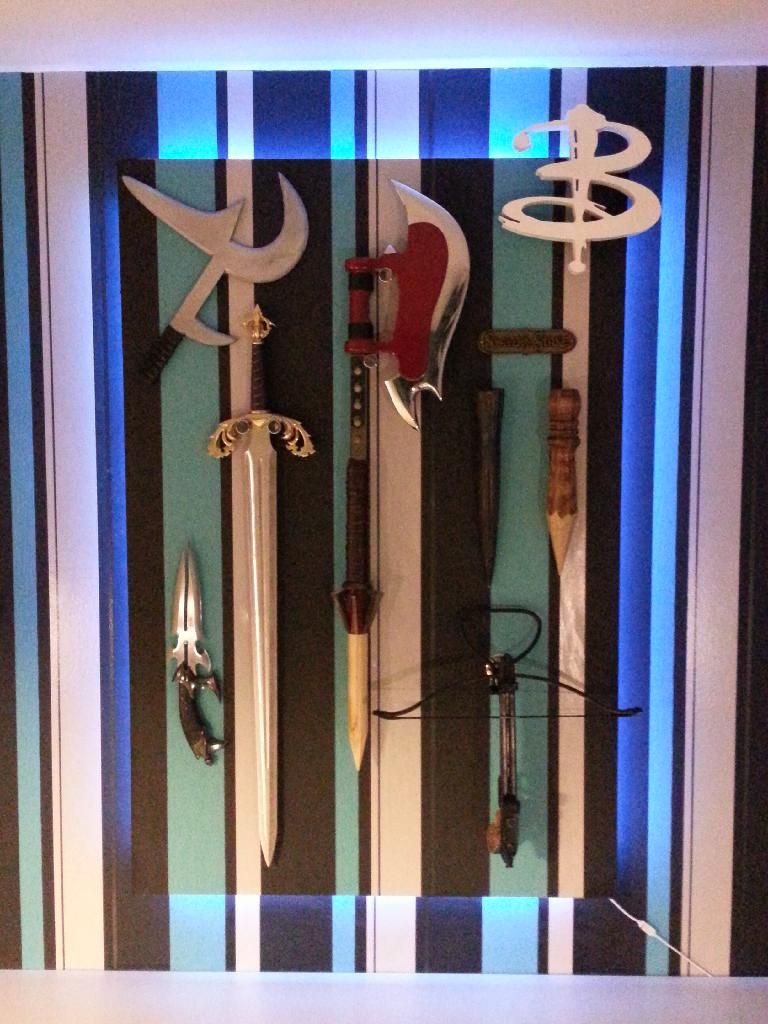
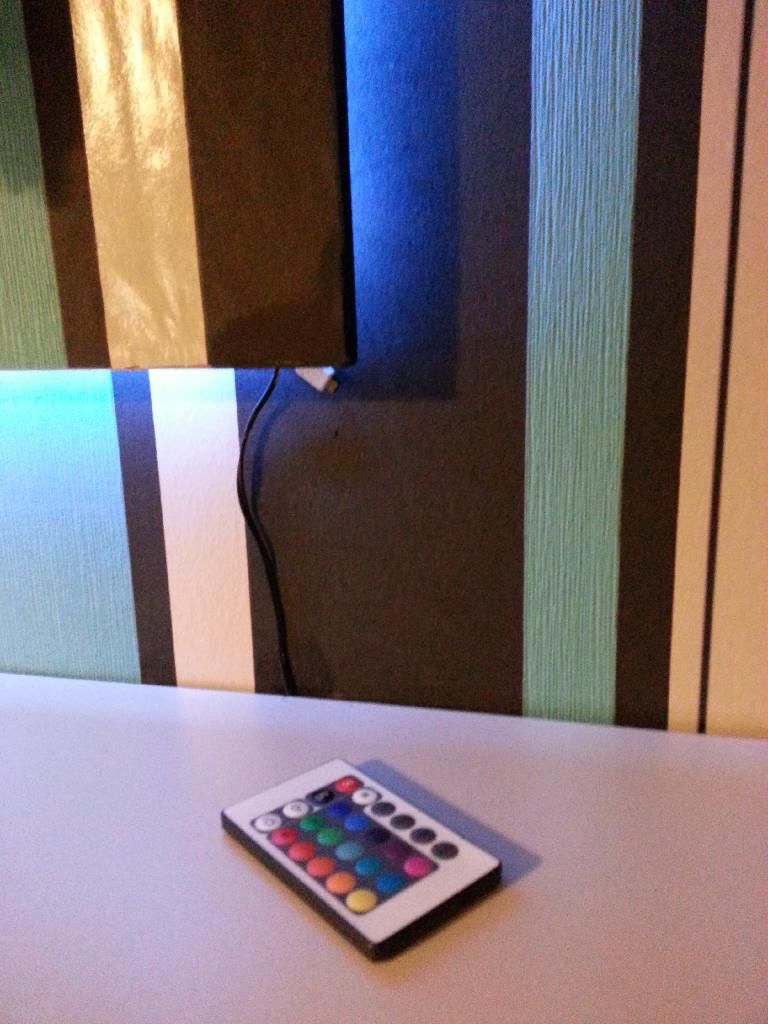
Theres different types of ledstripes, mine came with a remote. It can blink, change color ect. You can hide the wires behind the panel, just make sure the IR part is showing so the remote works. I then painted the visible cable black, that way it isnt noticeable anymore.
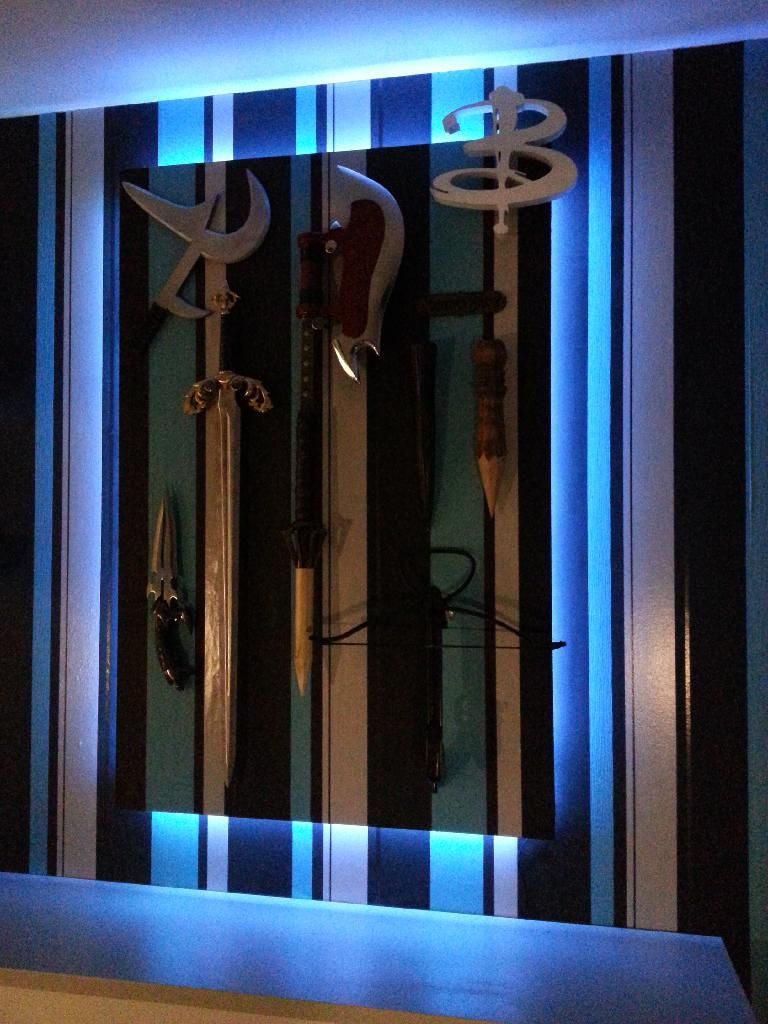
Pretty pleased with it for now
img.photobucket.com/albums/v624/ba1/10299526_761793340519834_2247211702681124275_n_zps938310a5.jpg
BTW the stakes are fixed with nails. First hammer a nail into the stake, get it out, hammer it into the wallpiece, clipp of the nailhead and fix it using the hole you just made. That way its mounted invisible.
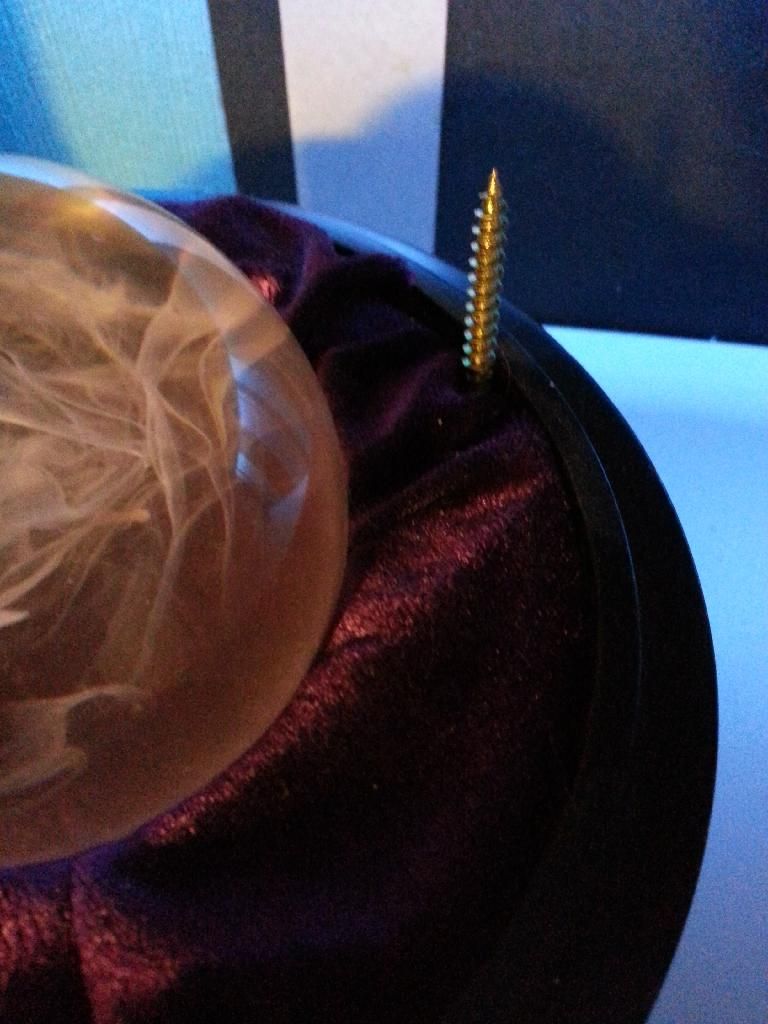
Also figured if you put a screw into the box of the Thesulah Orb you can just lean on the cap and it wont fall over.
All you need is :
)pegs (depends on wall)
)long screws
)1-3 stripes wood lath (depends on size of the wall panel)
)leds
)wooden panel/board
First I did meassure 3cm from the border to add the ledstrips similar on all sides.
Then glued the ledstrip on, make sure to cut exactly where the mark is or else the contacts are dead. Then use the connection piece and connect it with the next strip. Id left the energy on to see if the wiring works, no shocks during cutting

TIP: Make sure to place the port in that area wich is closest to a socket.
I then used those little rubber holders wich came with the ledstripes. Those are just a extra support as the strip is sticky allready, still wanted to make sure it will hold.
Then mount the wood laths. Theres different ways how to mount those, some put them around like a frame. I decided to have a longer centerpiece and 2 support pieces. Make sure to use a bubble level to get them as straight as possible. Use long screws to make sure the head of the screw comes through the top, so you know where to put the screws then. Remove the screws, turn the panel around and now screw the laths from the other side using the same holes. Make sure the heads of the screws dont come through yet.
TIP: Use a drill and add little slots on the surface where the screws goes. That way the surface is even when painting it or cover it with wallpapers.
You can now place your board the way you want to hang it up the wall, get someone to help you and hold the board, or use books or boxes to have a little support. Now drive in the screws as far as possible. That way they will leave marks in the wall, and you know where the pegs are going. Drill holes and put pegs in. Now you can mount your panel upon the wall.
TIP: Get a flashlight to check the back and make sure the screws went into the pegs.
I then placed my props the way their going to be mounted, that way you wont destroy the final wallpaper, paint ect.
Then removed everything but the nails and screws and stared to cover the panel with wallpaper.
TIP: If your wallpaper/paint has pattern make sure to make it fit the wall. You can also use a different wallpaper/paint to make the panel stands out even more.
I usually cover the borders with wallpaper too, but just decided to paint them black this time.
Theres different types of ledstripes, mine came with a remote. It can blink, change color ect. You can hide the wires behind the panel, just make sure the IR part is showing so the remote works. I then painted the visible cable black, that way it isnt noticeable anymore.
Pretty pleased with it for now
img.photobucket.com/albums/v624/ba1/10299526_761793340519834_2247211702681124275_n_zps938310a5.jpg
BTW the stakes are fixed with nails. First hammer a nail into the stake, get it out, hammer it into the wallpiece, clipp of the nailhead and fix it using the hole you just made. That way its mounted invisible.
Also figured if you put a screw into the box of the Thesulah Orb you can just lean on the cap and it wont fall over.